I am saying part 1 in case I actually get to a part 2. This is a really quick, rough tutorial for the hopper portion of the garbage truck costume I made last year for my boy. Consequently, it is also the hopper I am using for this years version of the garbage truck costume. Yes, I am making another garbage truck costume. I’m not sure I have it in me but the boy is more than enthusiastic enough for the two of us. I decided to try a different design. He won’t be standing in the “hopper” portion of the costume, but standing in the “cab” portion of the costume. I plan to some how have him wear the costume like a back pack. We shall see how that works out.
1. Pick a box for the hopper. Last year I collected boxes for months before hand. I was lucky enough to find one that was just perfect in width and depth. It needs to be wide enough so that the child can fit inside of it.
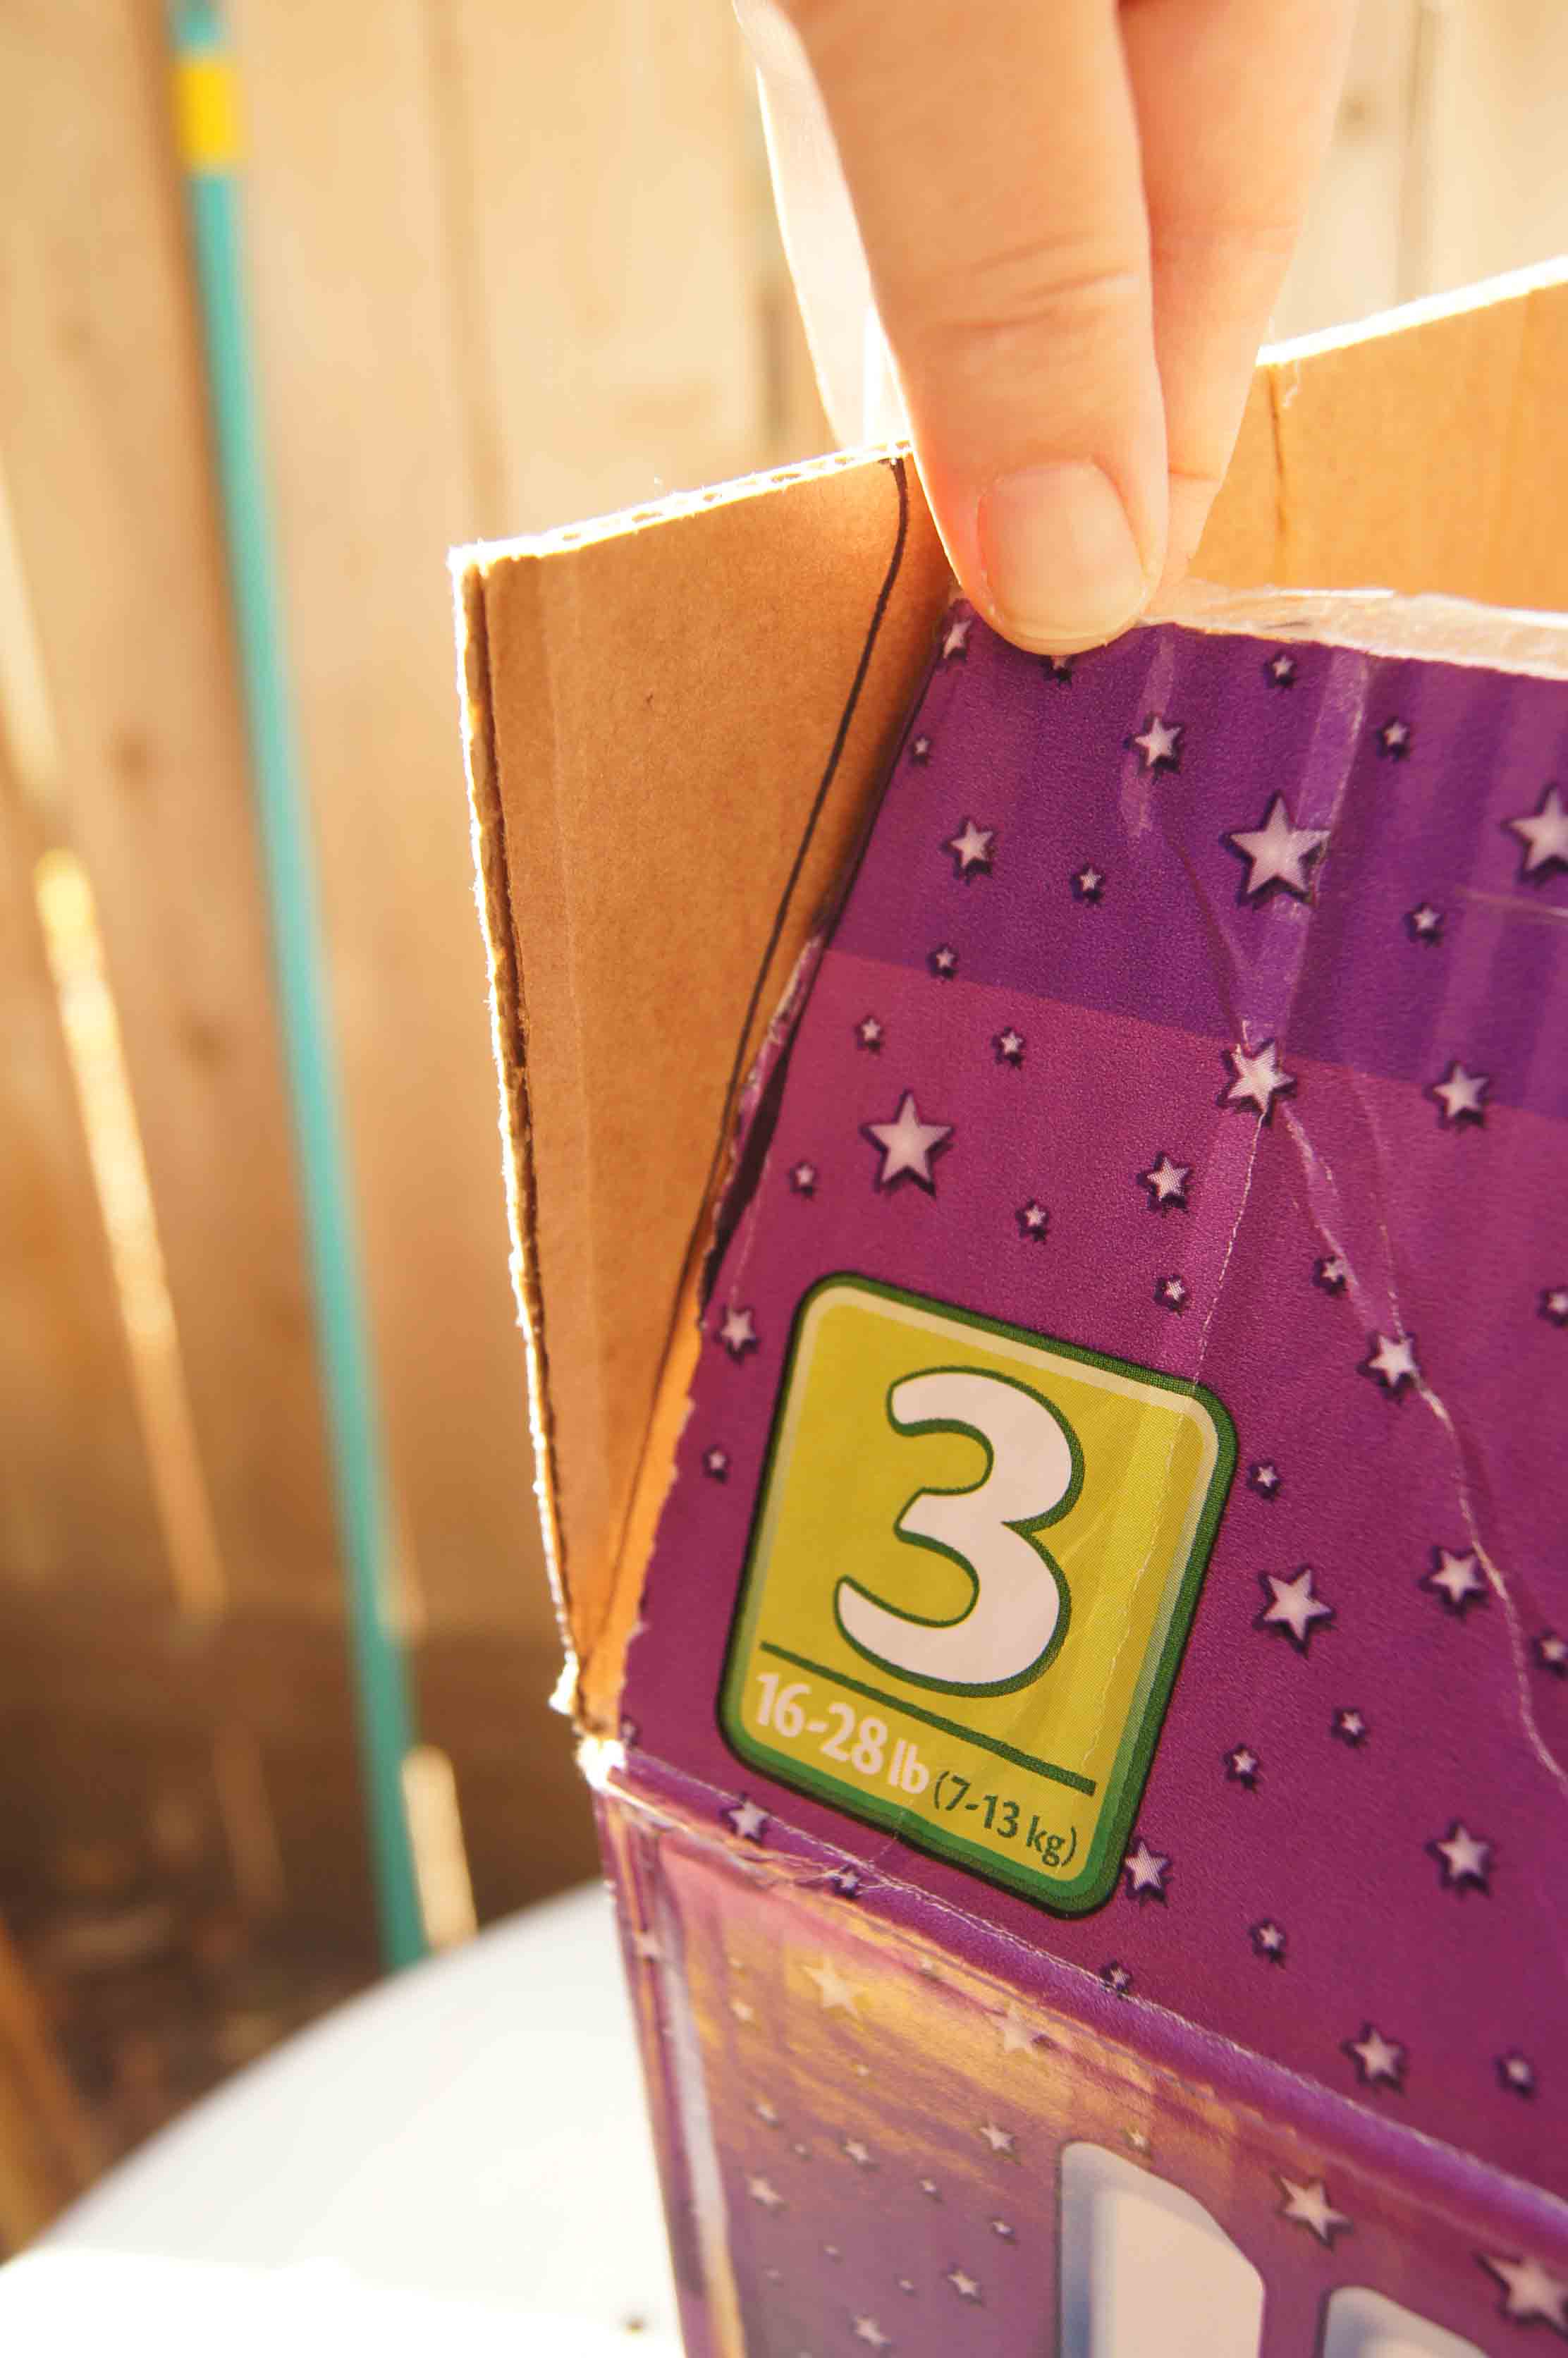
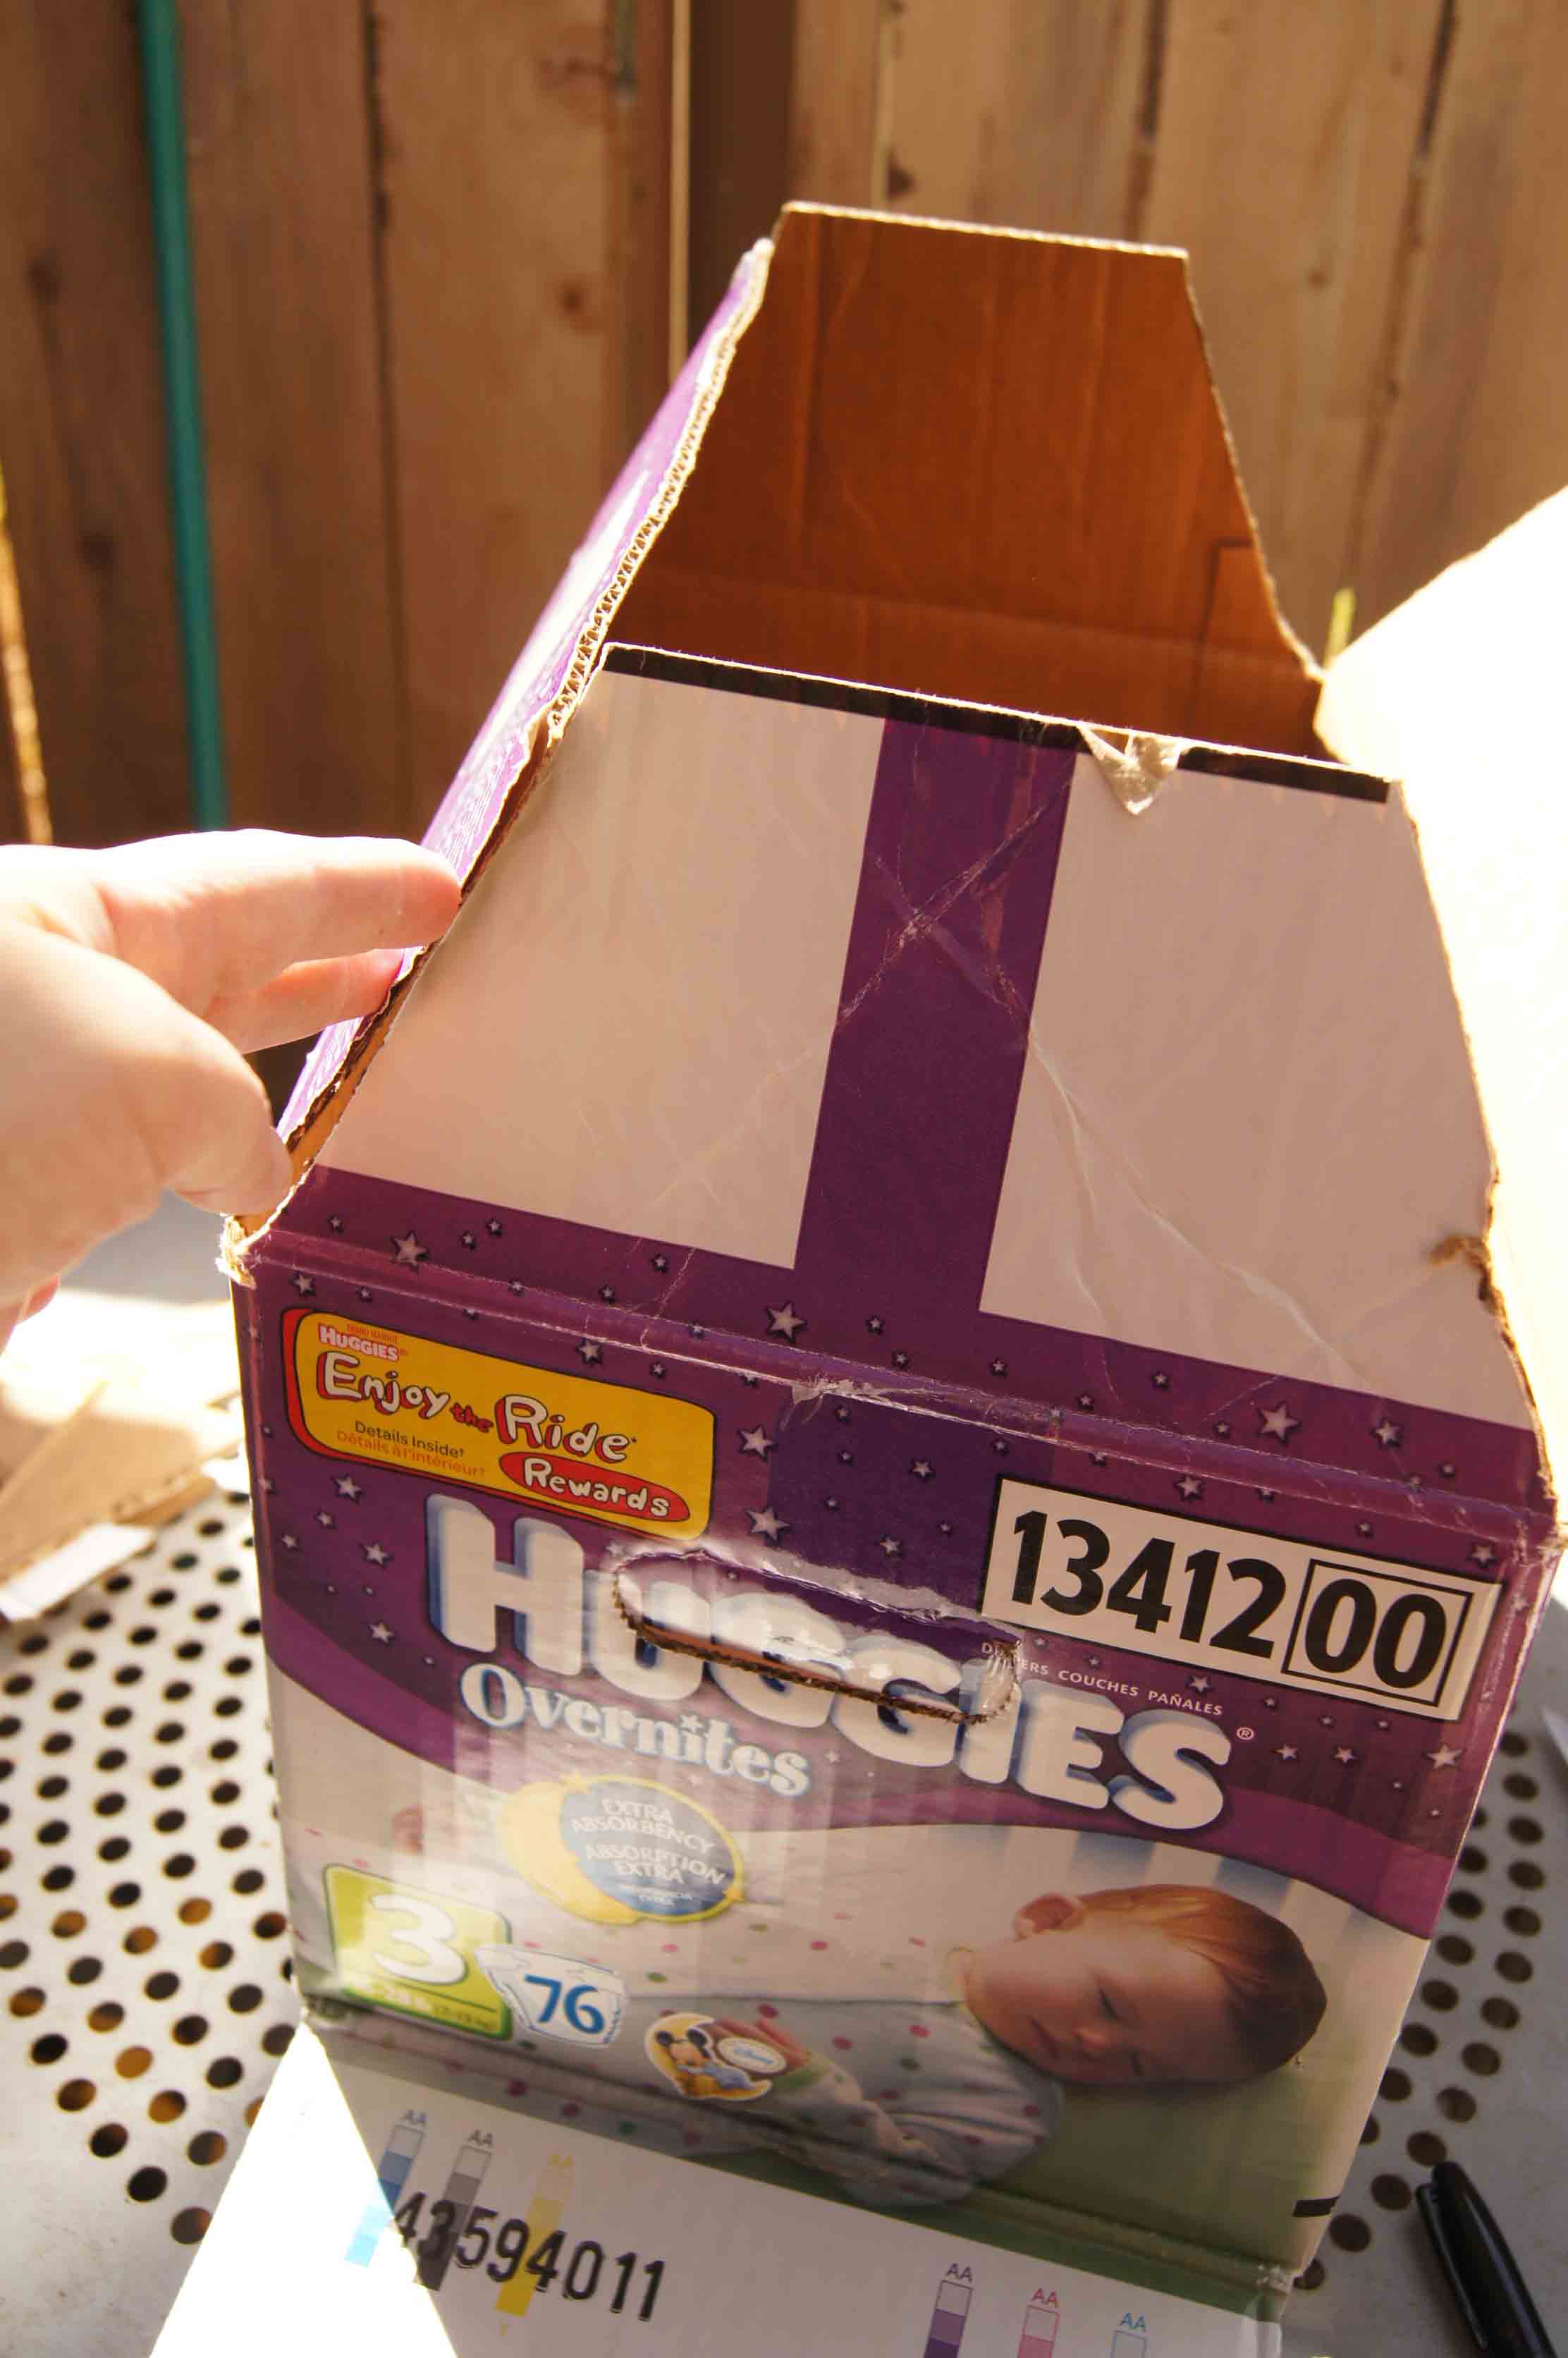
NOTE: If you are doing a design where the child stands inside the hopper, it is very important that you trim at least 2 inches from all of the “flaps”. You might need to trim more depending on how wide your box is.
2. Speaking of the flaps. After you have trimmed 2 inches off every flap piece, both on the top and bottom of the box, you are ready to determine the angles for the beveled edges of the hopper. You have the short end flaps and the long end flaps. Angle the long edge flaps in against the short end flaps. Draw a line. Cut that piece off, I used a kitchen knife. This little triangle will become your template for every other angle cut. This is a super fast, easy way to insure your angles are symmetrical.
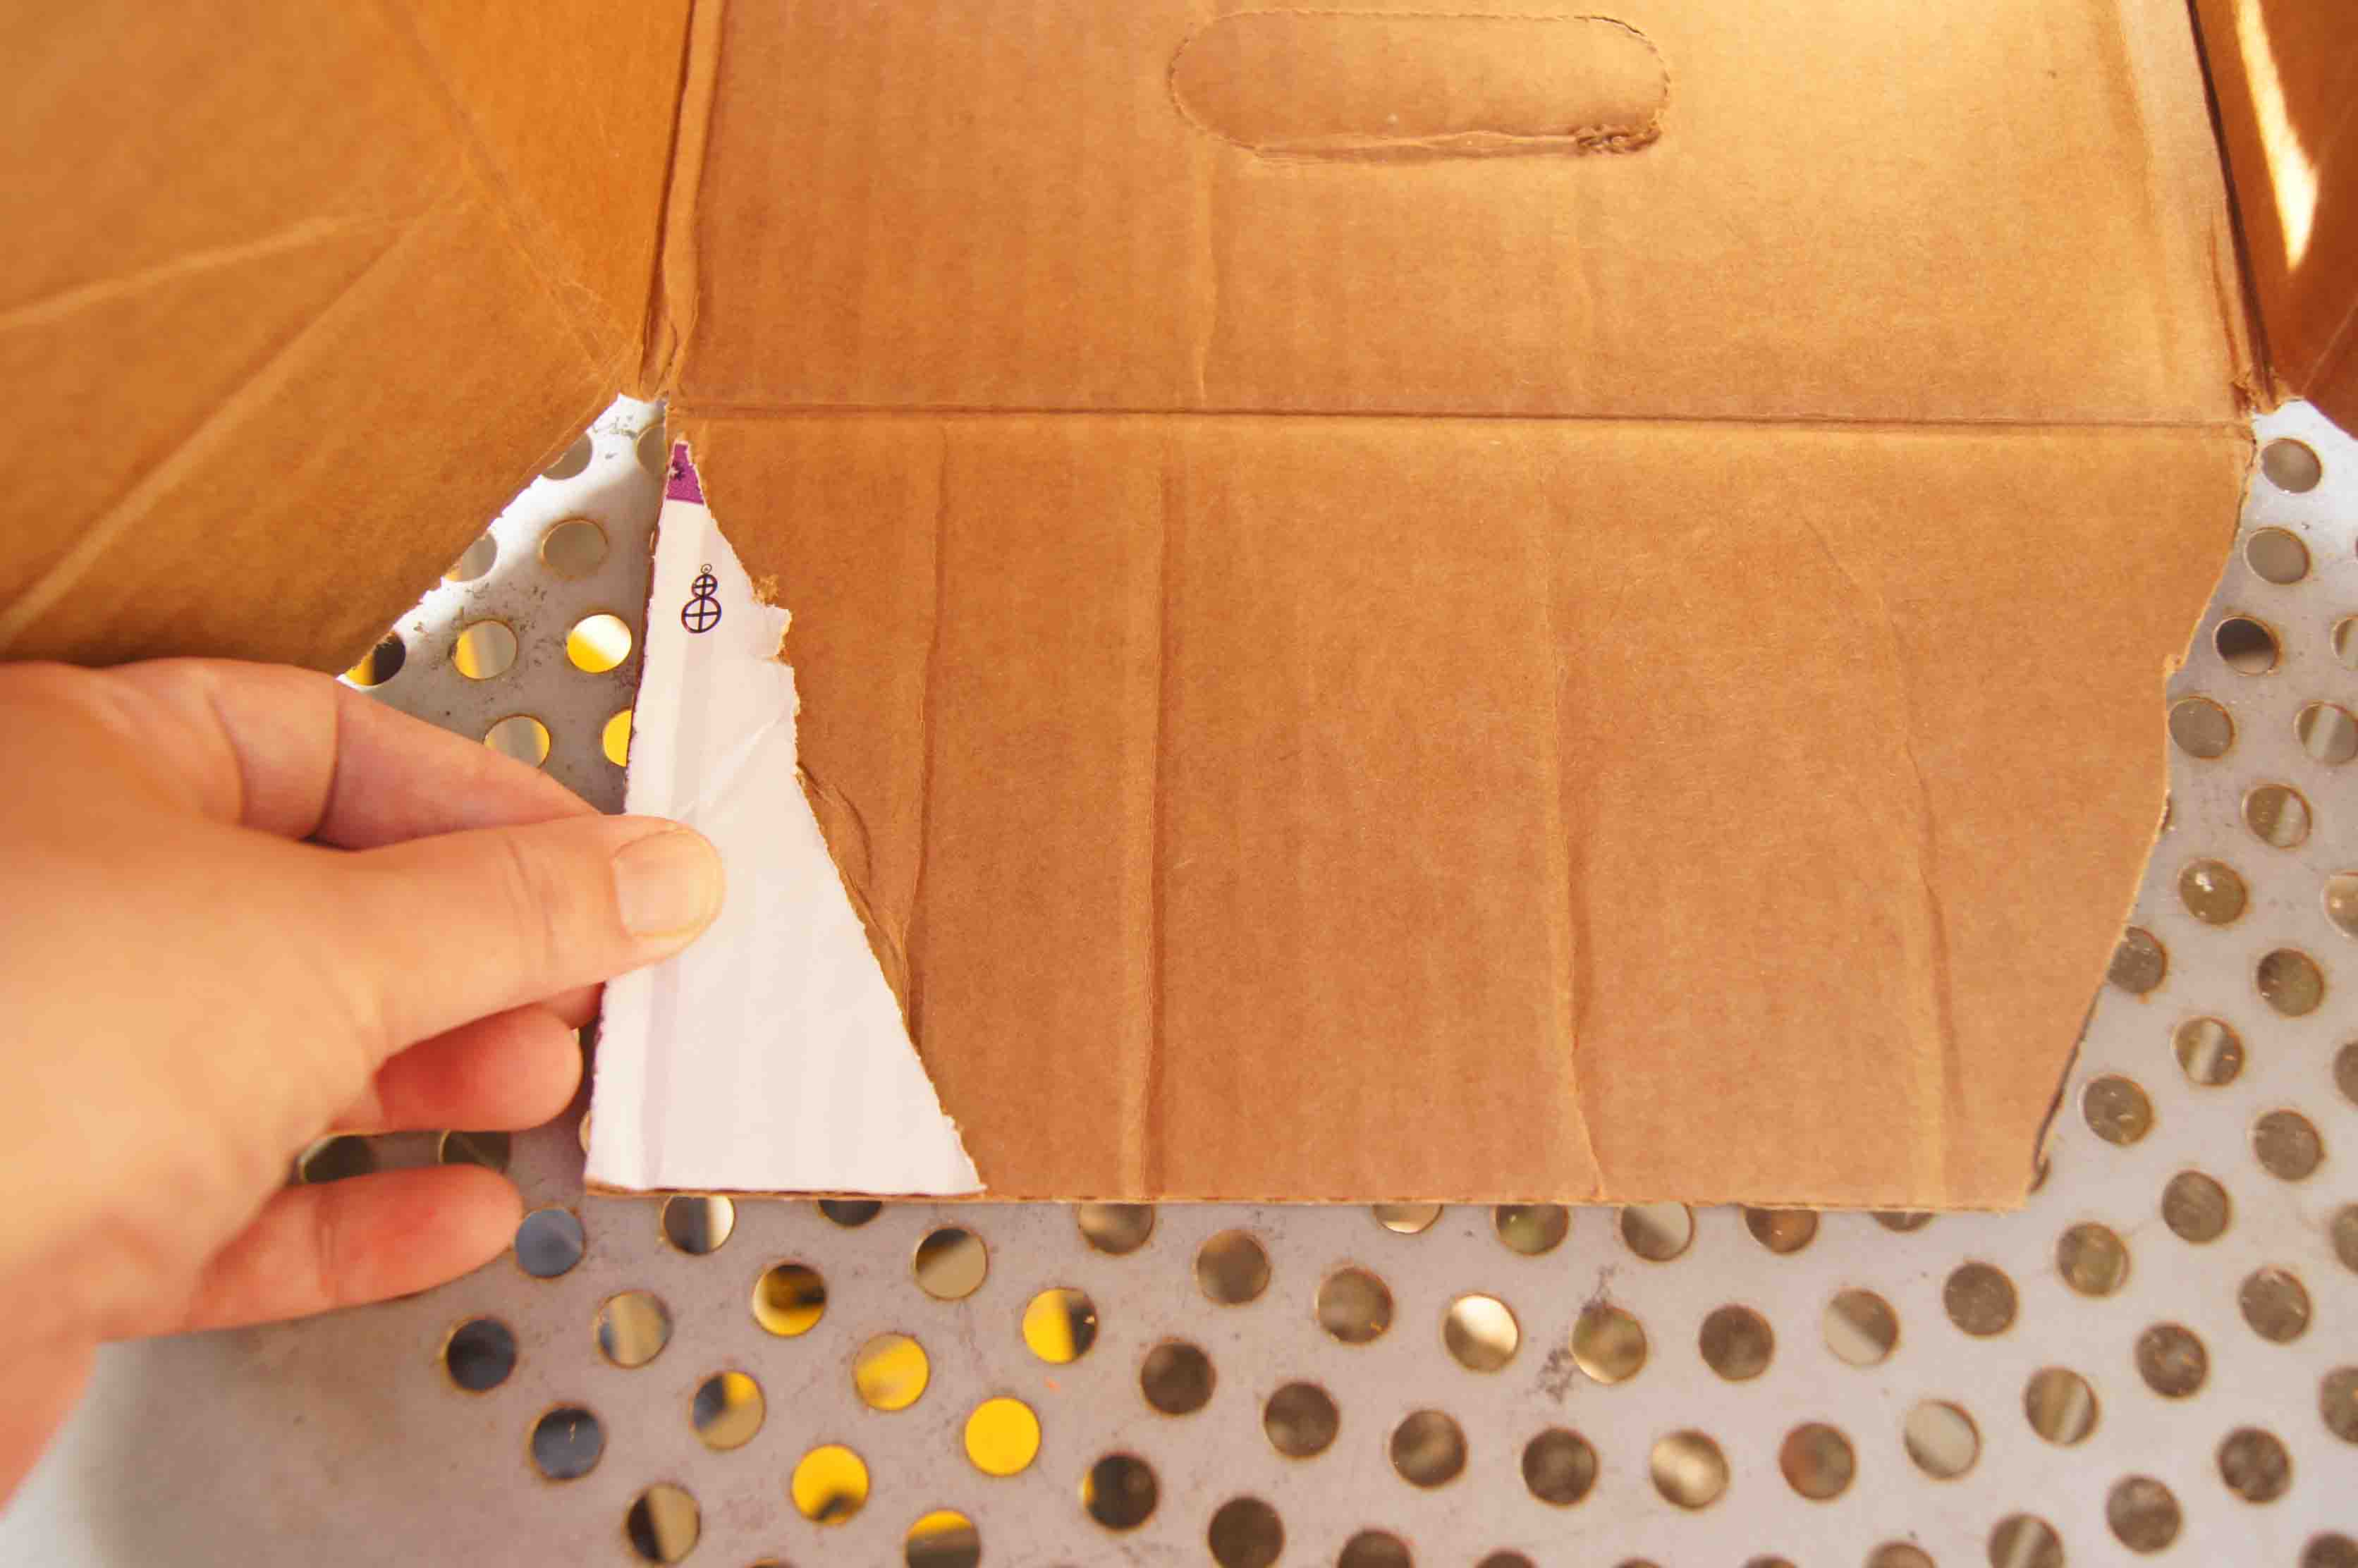
3. Here I am using the triangular piece I cut off as a template. Repeat this process on all 4 short end flaps.
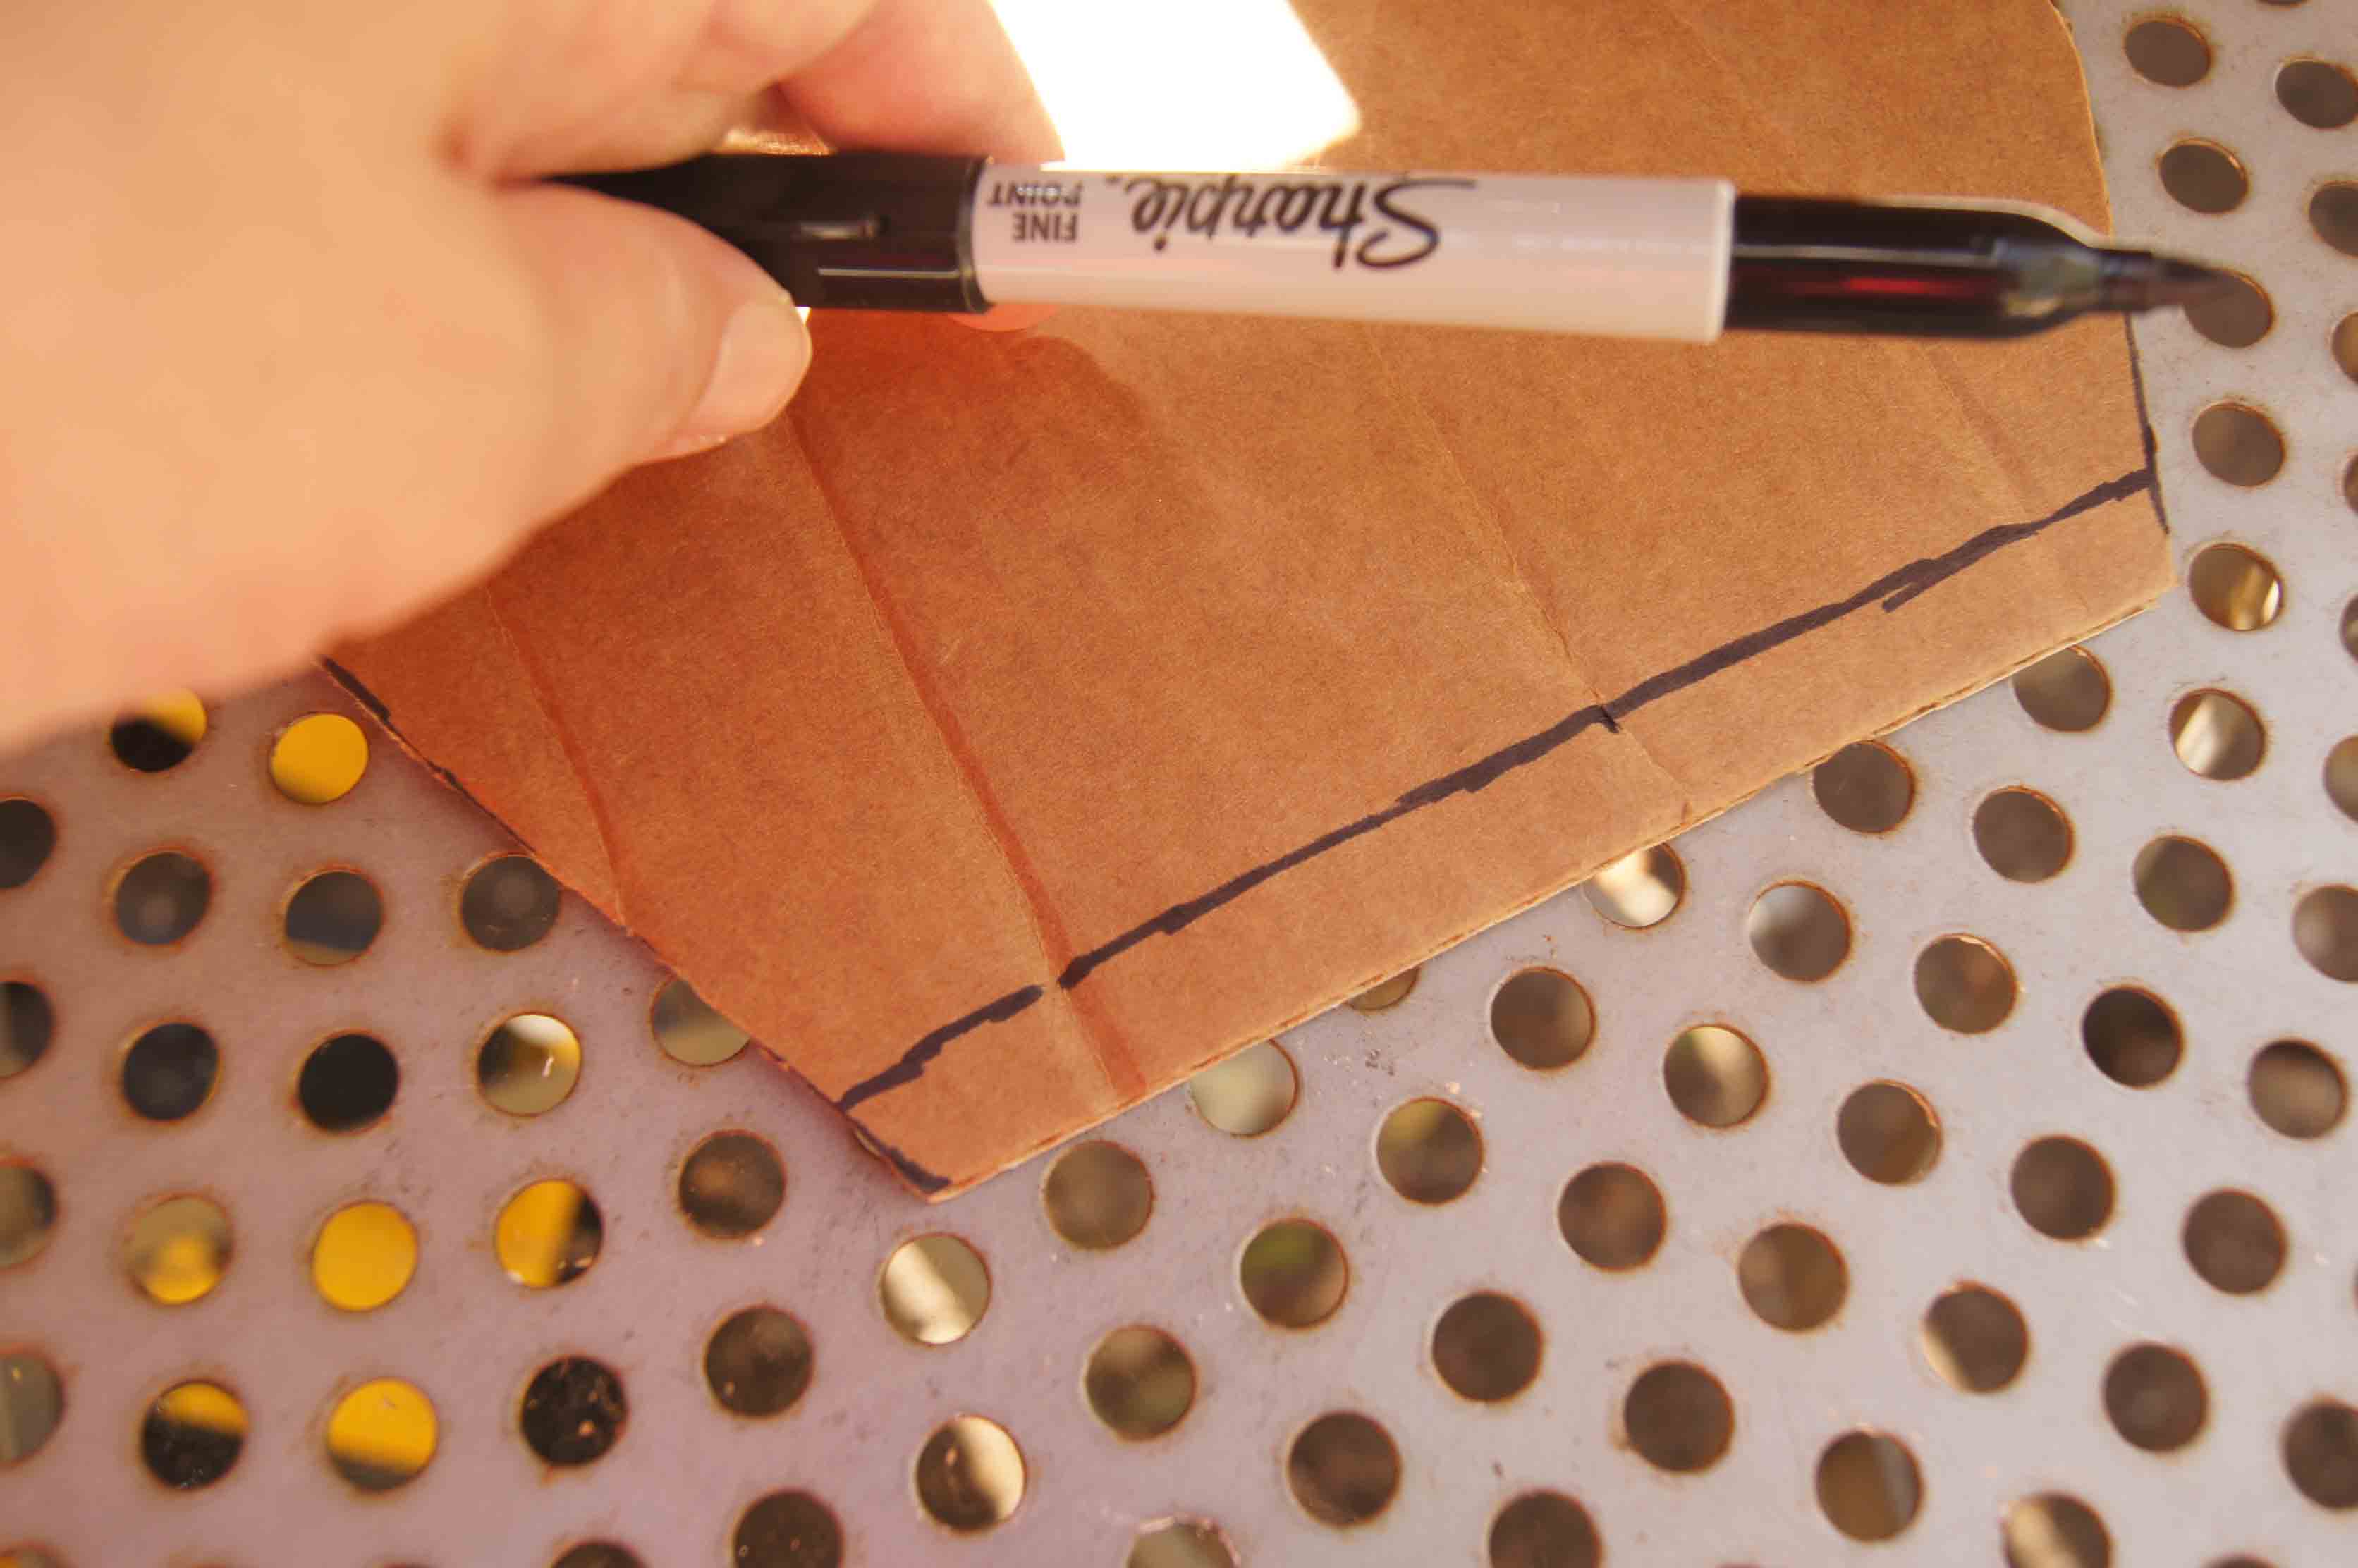
4. The end flaps stand up straight while the long side flaps angle in. The tops of the end flaps will not line up, they will be a bit taller than the side flaps. I drew a couple of lines to mark where I needed to cut off the excess.
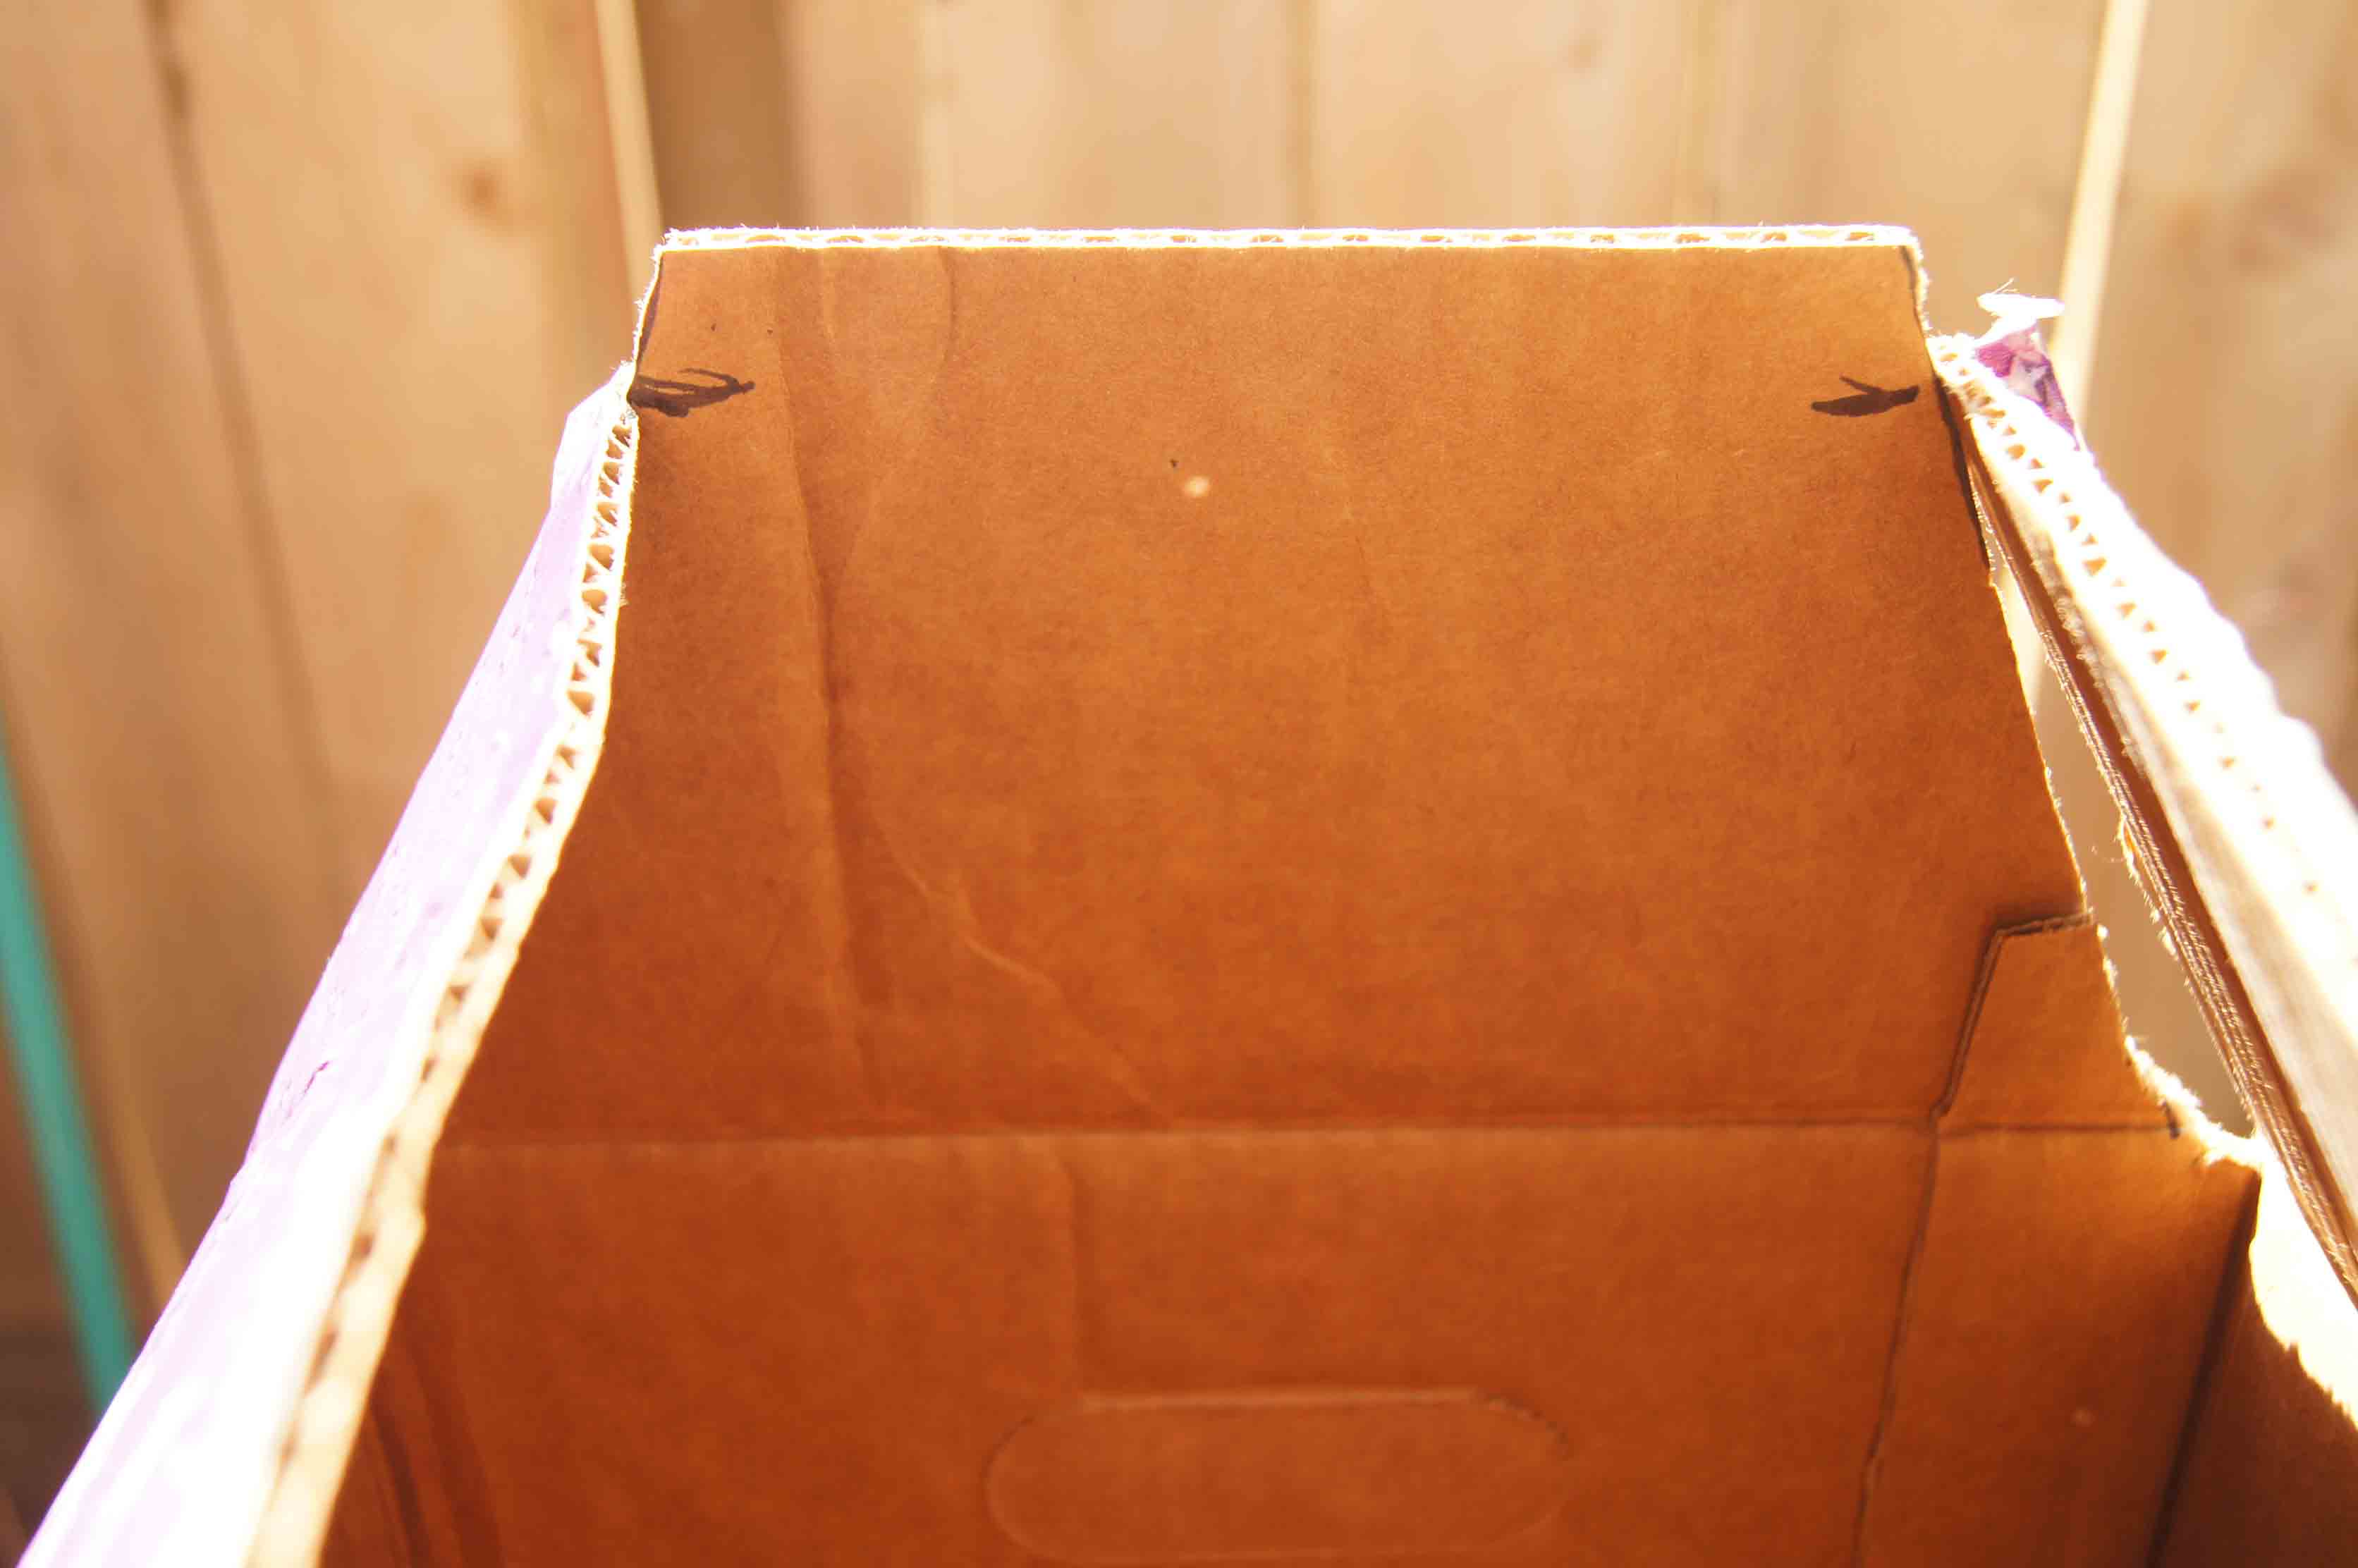
5. Connect the lines to make one long line. Cut along the line to remove the excess. Repeat this on all 4 short end flaps.
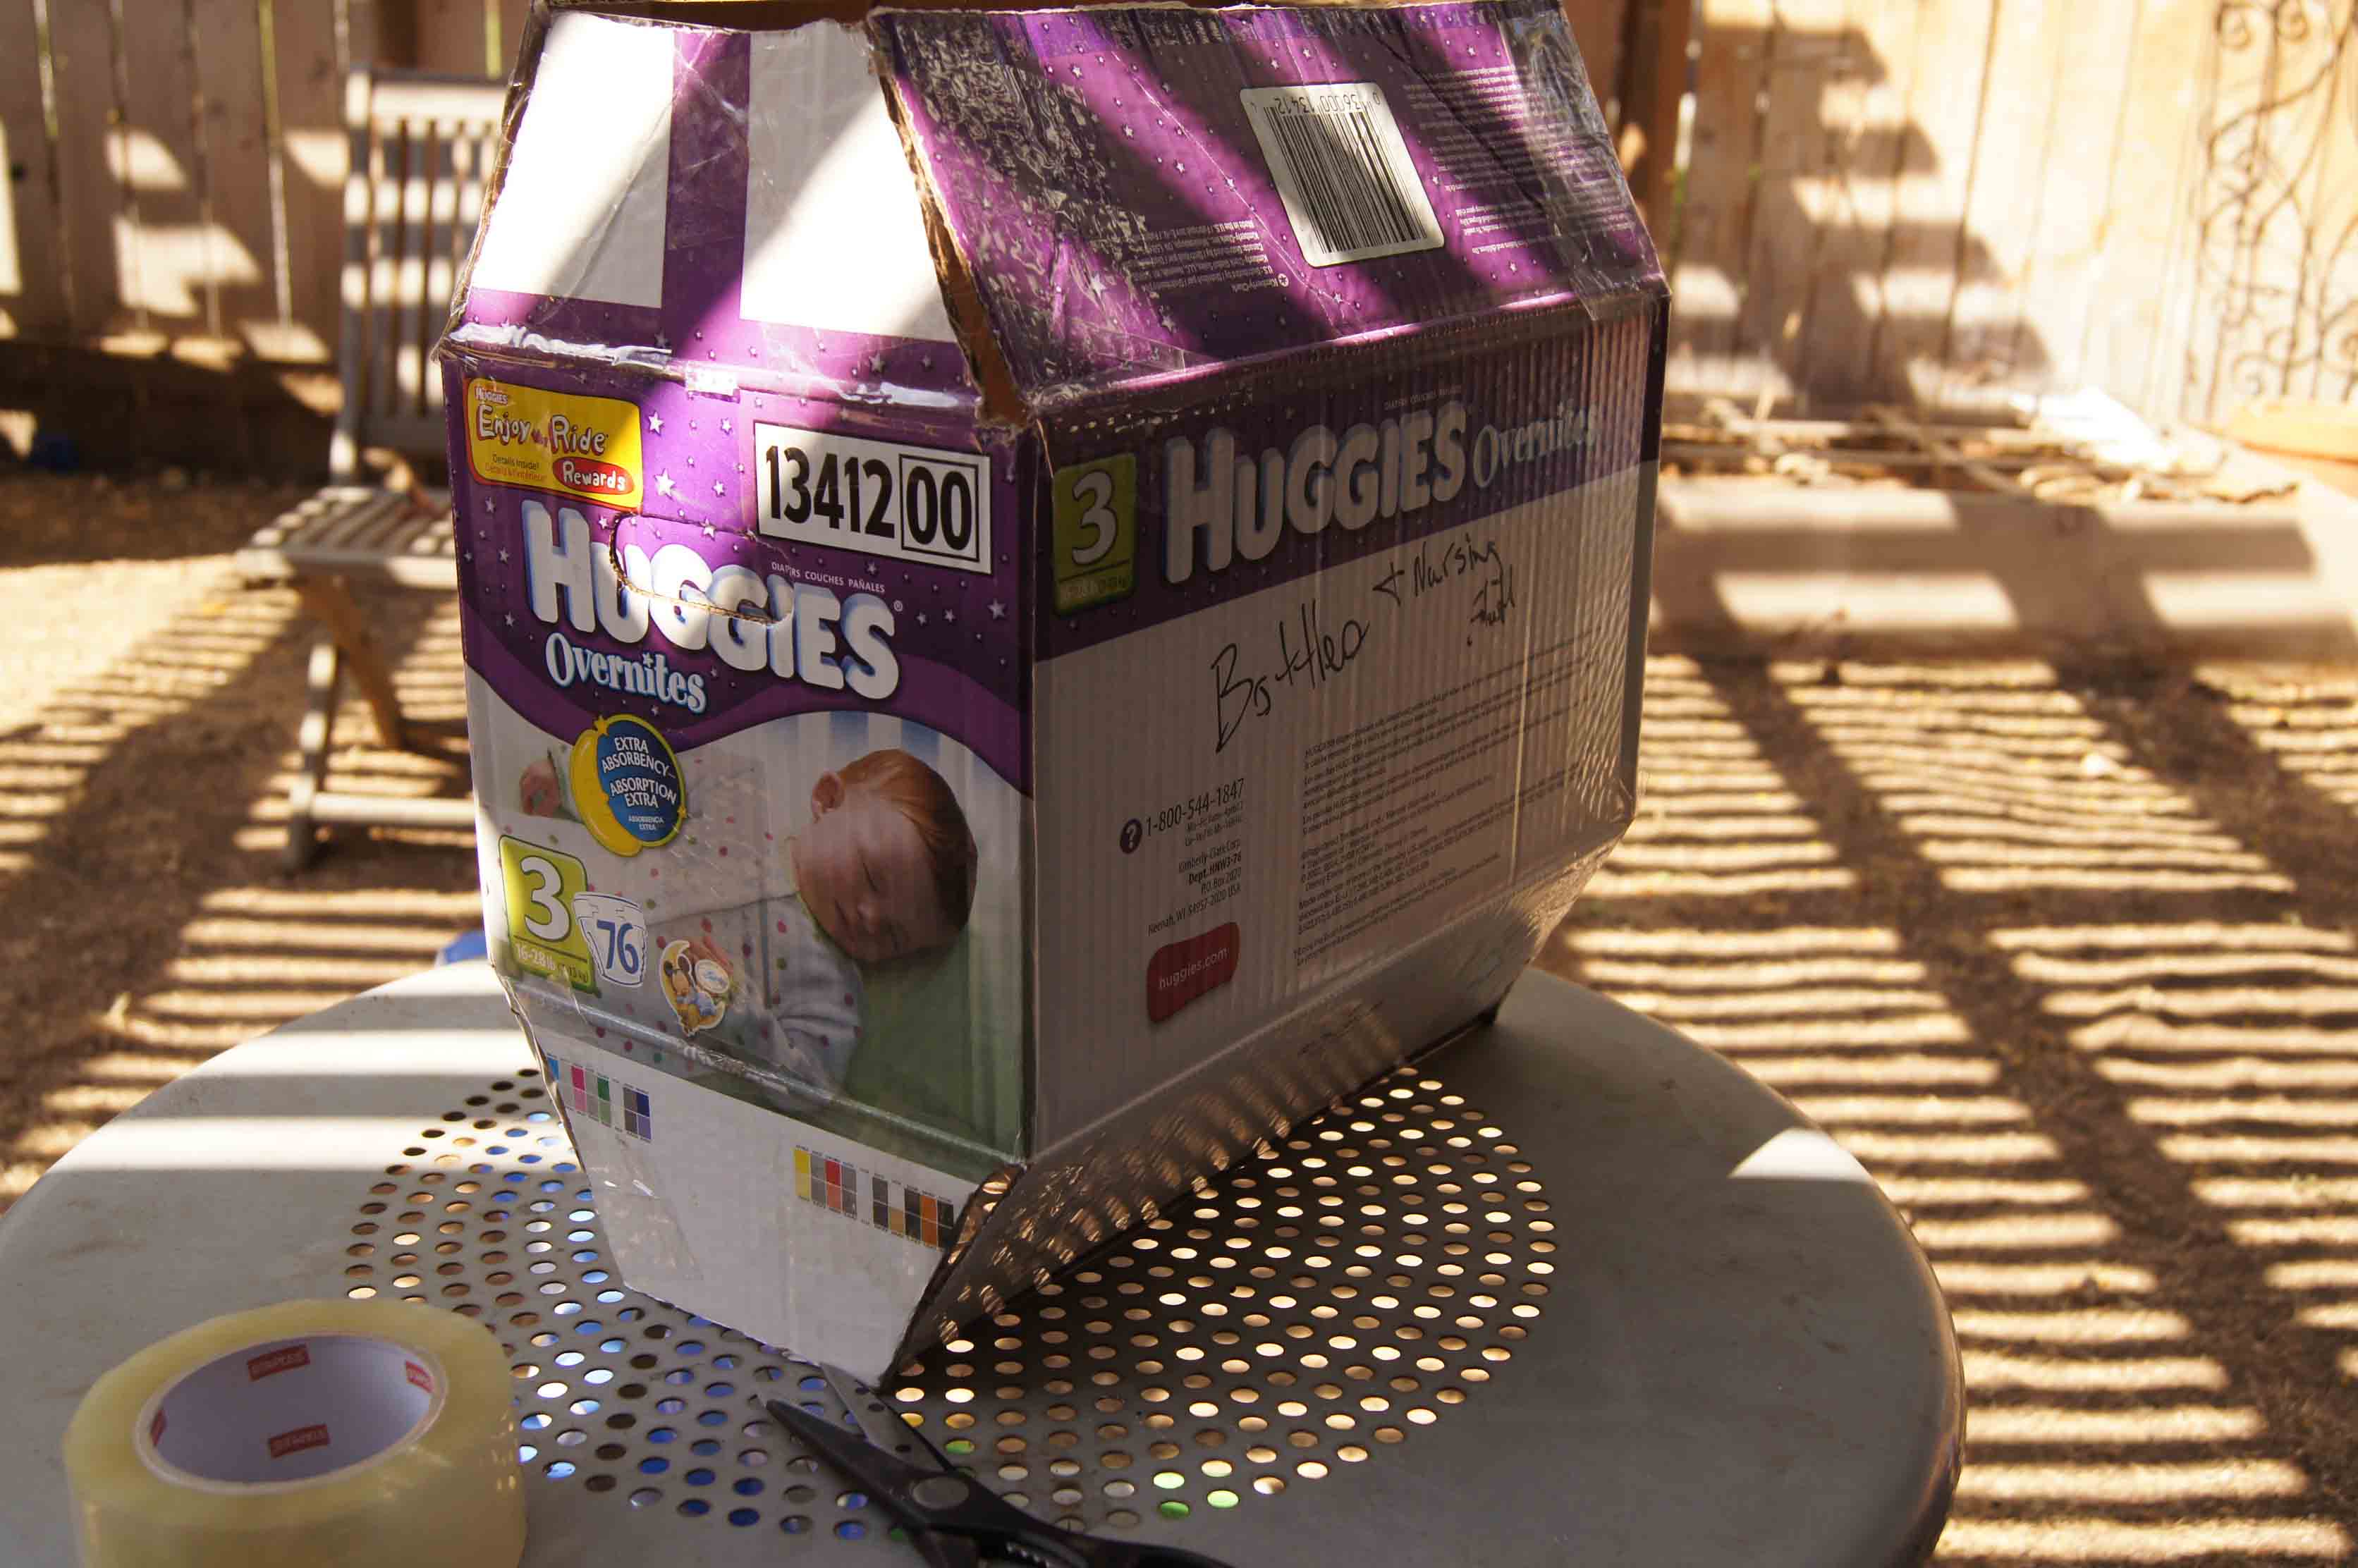
6. This year I am using packing tape to stick this thing together. Last year I made cardboard tabs and then hot glued the angles together. I am in a hurry this year. I am thinking that I will cover the piece with the brown paper that is used for covering packages that are meant to be mailed. It is probably the same stuff brown paper bags are made from. This will make it smooth for painting. Notice how narrow the opening is when you don’t trim down the flaps? It would be hard for the kid to fit in there or have enough room for their legs when trying to walk. On the bottom, it might be a good idea to knotch out some leg room if the box you are using is too narrow even after trimming the 2 inches or so. Cardboard is really fun and forgiving.
7. Here is a shot of the basic hopper after I taped all the flaps together.
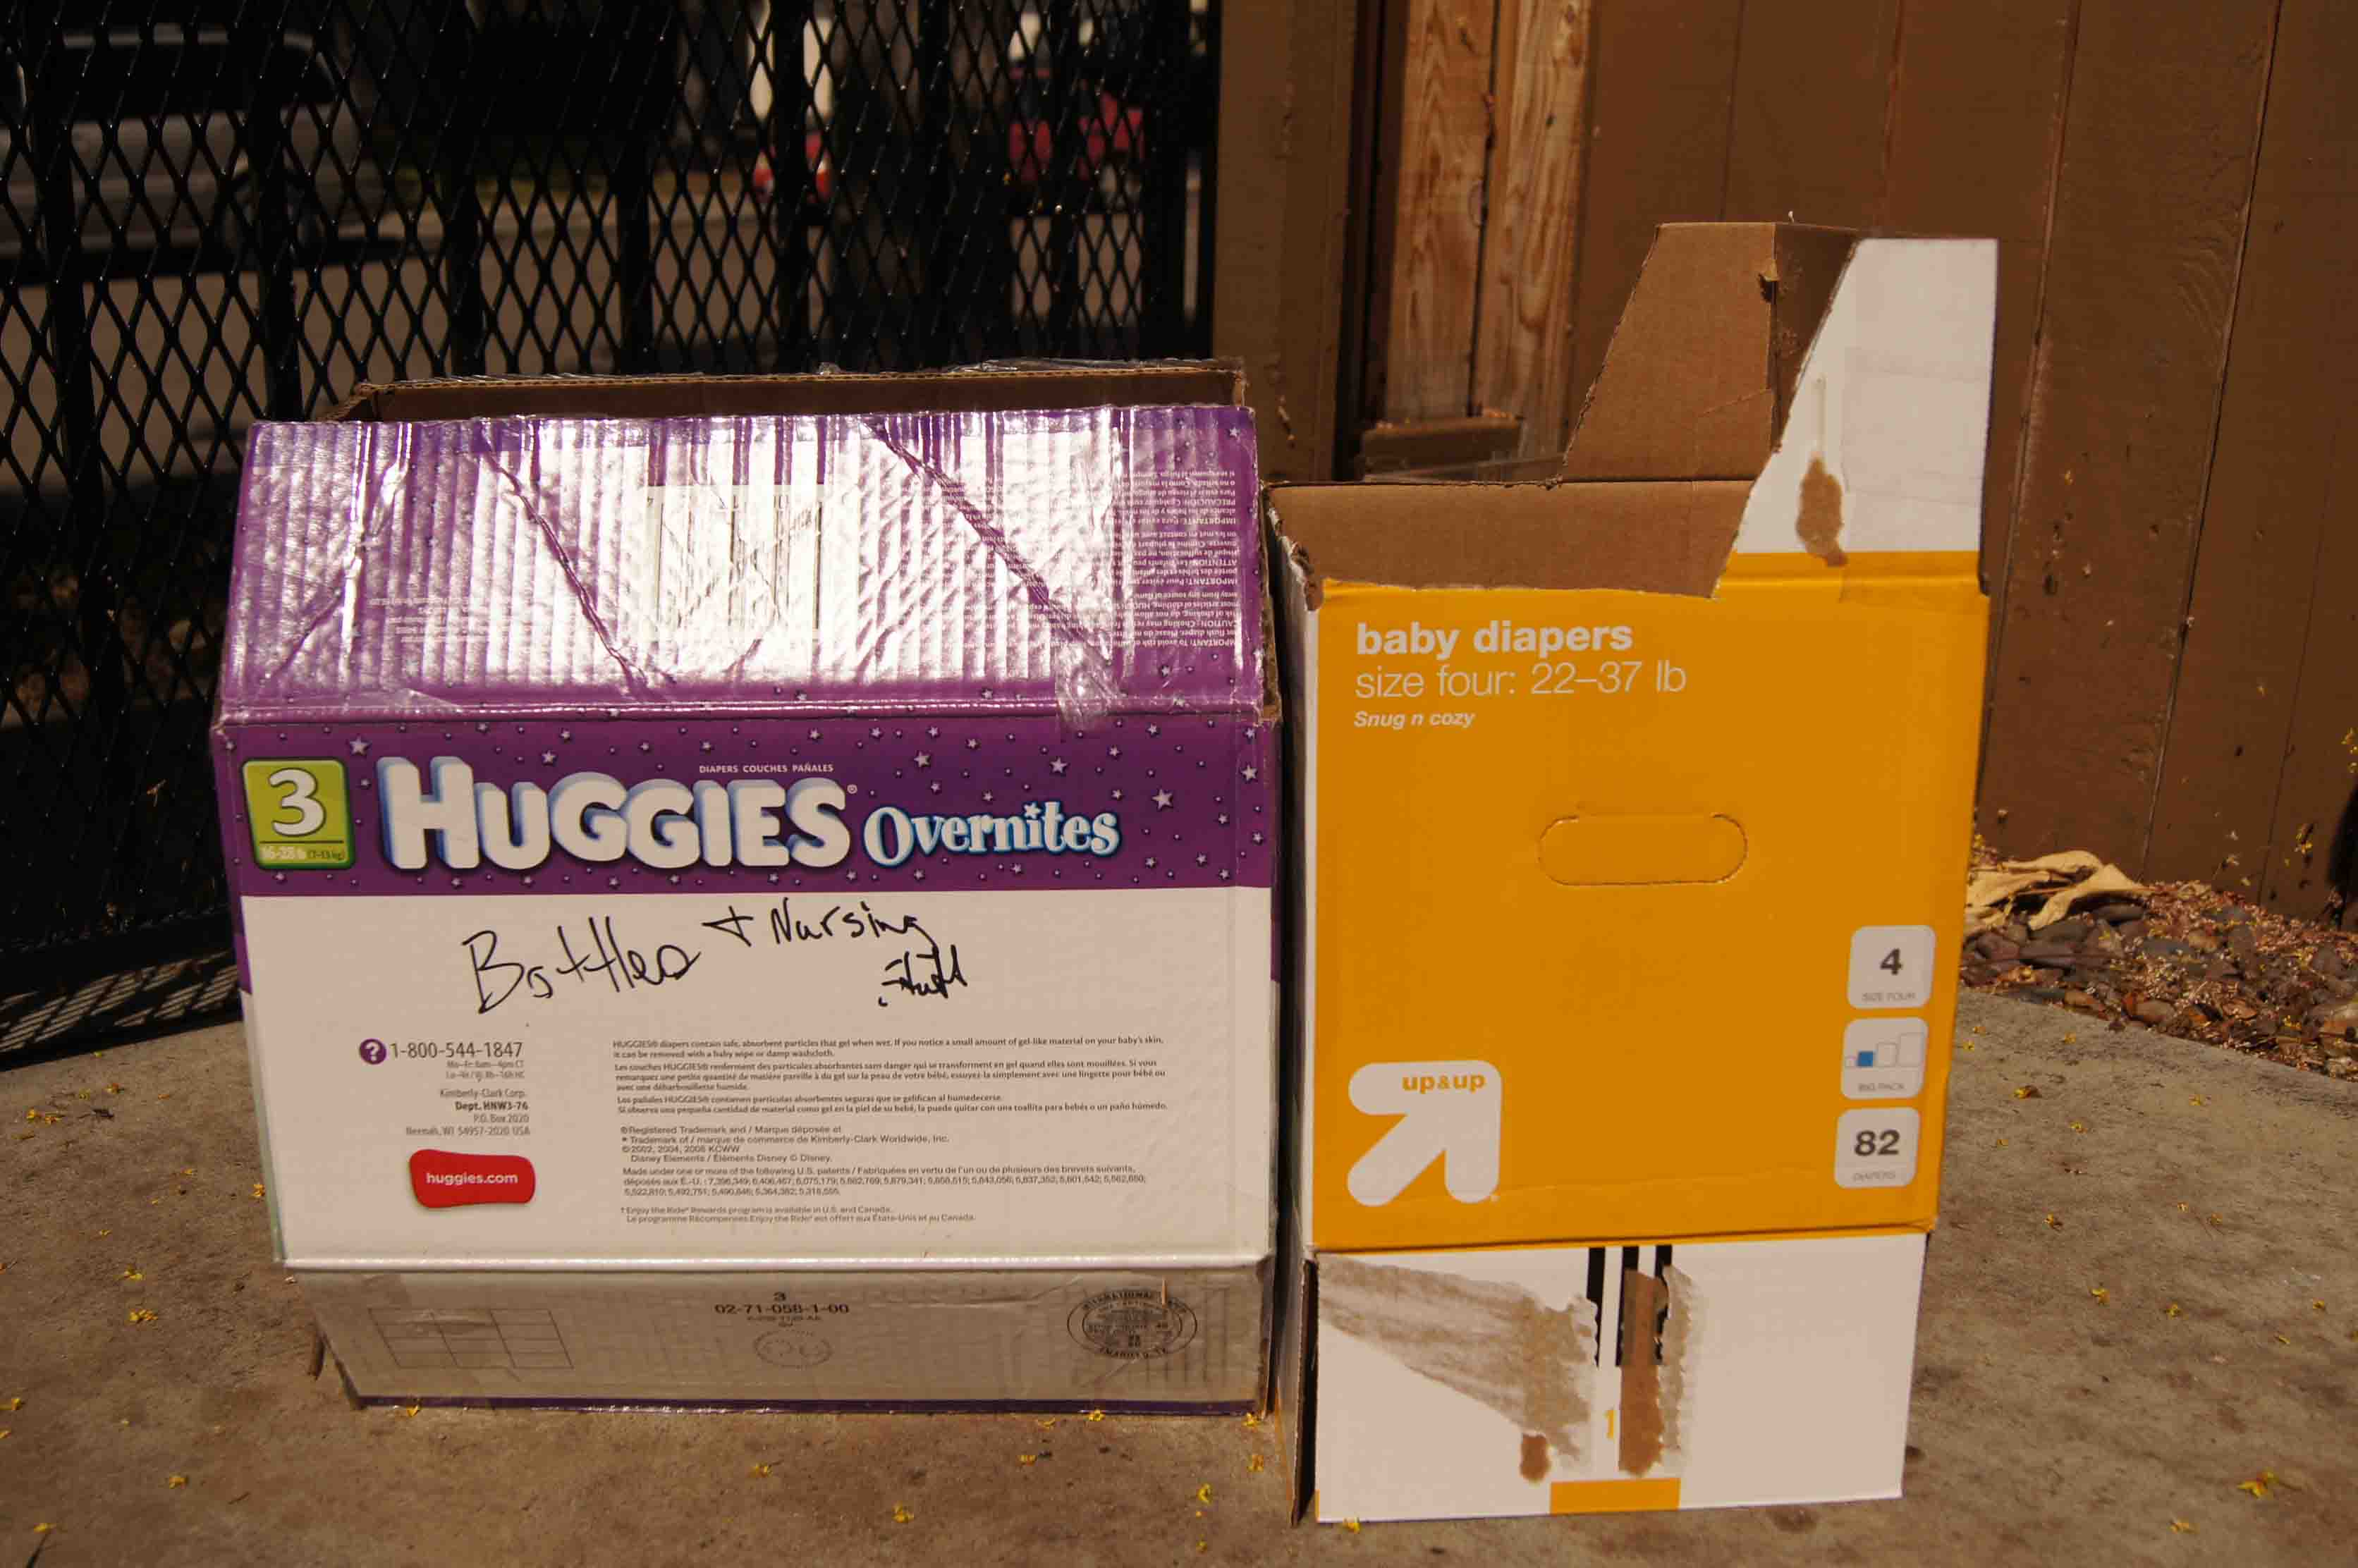
8. The base of this year’s costume. The yellow box will be the cab and the boy will stand inside of that instead of the hopper portion as he did last year.


[…] : I have made a very basic tutorial for to show my process for getting the hopper shape. I used the directions for the cab and the […]
This was super helpful- thank you! How are you attaching your straps with your kiddo in the cab? I’m trying to figure out how to make the weight distribute so that the hopper isn’t hanging down or too heavy for my son to carry. Thanks!
Oh good, I’m glad. I am kind of playing it by ear in regards to the straps. I plan to attach the straps on the back wall of the “cab” so the hopper portion is worn like a back pack. I am hoping to use wide elastic, we’ll see how that works. I want it to fit find of snug. I have a feeling the hopper is going to end up a bit too heavy. My boy is tiny so I feel like this inevitable. I did some work on it tonight and my son got out of bed to see it and is super excited. I hope to get more done tomorrow. Good luck!
Kind of like this costume. My hopper is going to be way bigger than this. The design of this costume is pretty good. It looks super comfortable. http://www.parents.com/holiday/halloween/costumes/boy-halloween-costumes-that-rock/#page=12